# How to Deploy the Microsoft Page View Add-In

### How to Install the Microsoft Page View Phishing Reporter

1. Before deploying the button, we recommend customizing it. This can be done in the **Add-In Settings** tab under the [Phishing Reporter](https://doc.keepnetlabs.com/next-generation-product/platform/phishing-reporter/phishing-reporter-customization) menu on the Keepnet platform.
2. Once customization is complete, stay on the **Settings** tab. Scroll down to the bottom and click **Manage and Download**. A pop-up will appear—select **Connect** **Account** to proceed.

<figure><img src="https://3453589210-files.gitbook.io/~/files/v0/b/gitbook-x-prod.appspot.com/o/spaces%2F-LMcQ_WCXOrHv3r05ae5%2Fuploads%2FhpSvqj5eFnEXuJIsx7E0%2Fimage.png?alt=media&#x26;token=d72edc5a-904f-4ea7-9027-053123a9bb35" alt="Download Button panel on Phishing Reporter page."><figcaption><p>
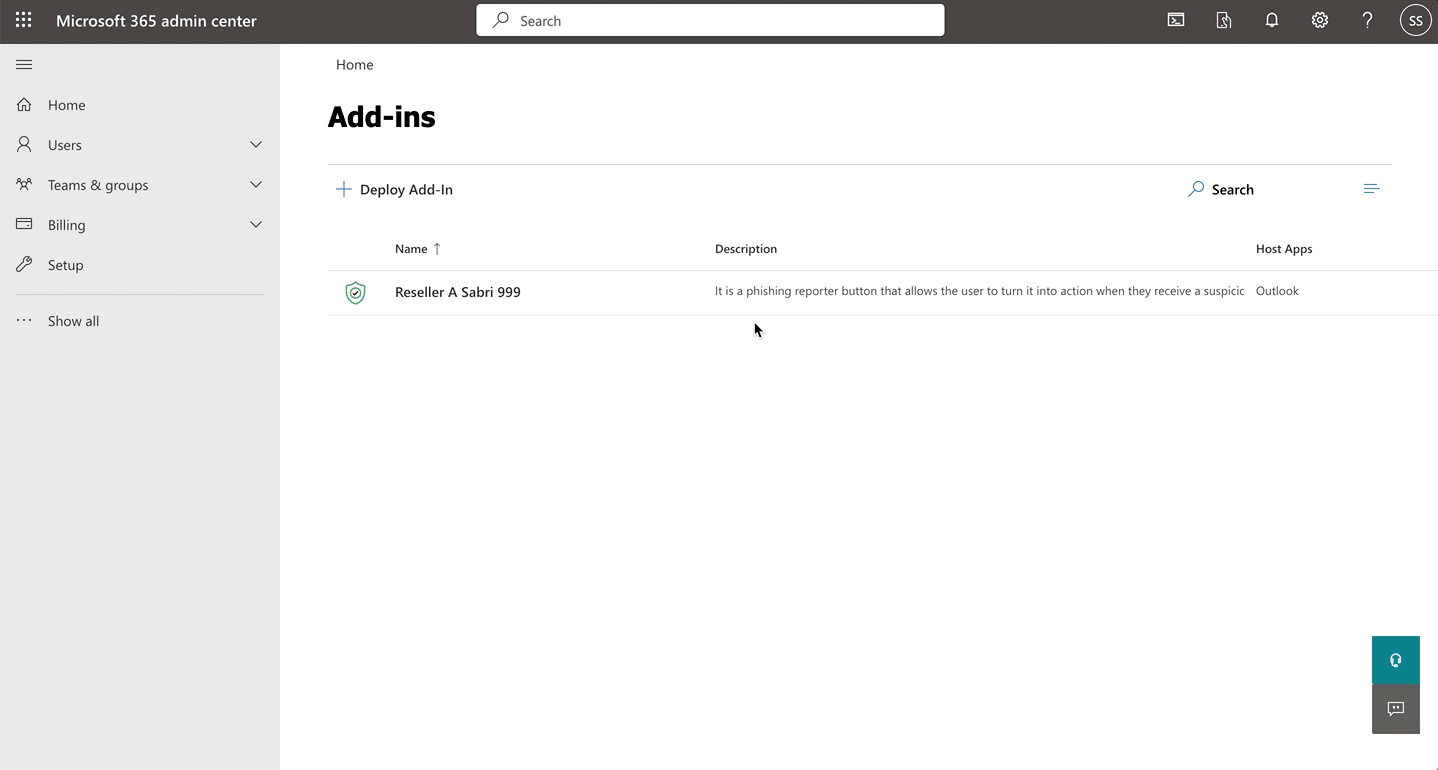
Picture 3: Download Button panel on Phishing Reporter page</p></figcaption></figure>

3. Log in to your [Microsoft 365](https://admin.microsoft.com/) account using your **global admin credentials**.
4. Once you log in, the **Permissions** **requested** pop-up window will display. Read the permissions, then click **Accept**.

<figure><img src="https://3453589210-files.gitbook.io/~/files/v0/b/gitbook-x-prod.appspot.com/o/spaces%2F-LMcQ_WCXOrHv3r05ae5%2Fuploads%2FGExVj1BUxLZdAH77V7p5%2FScreenshot%202025-05-28%20at%2011.34.26.png?alt=media&#x26;token=b8c424ad-fd01-4586-90f0-6d4801af3575" alt="Required Graph API permissions for Microsoft Page View Phishing Reporter button." width="375"><figcaption><p>Picture 4: Required Graph API Permissions for<br>Microsoft Page View Phishing Reporter button</p></figcaption></figure>

#### Understanding Required Microsoft Graph API Permissions

The **Microsoft Page View Phishing Reporter** requires specific Microsoft Graph API permissions to function effectively within an organization’s Microsoft 365 environment. These permissions allow the application to interact with users’ emails, retrieve necessary details for reporting phishing attempts, and ensure smooth integration with the email infrastructure.

Below is a breakdown of the permissions required and their purpose:

**1. Mail Permissions**

* **Mail.Read**: Allows the Phishing Reporter to read the user’s email to retrieve necessary email details such as headers, attachments, and content.
* **Mail.Read.Shared**: Extends read access to shared mailboxes, ensuring that the application can retrieve phishing emails reported from shared accounts.
* **Mail.ReadWrite**: Provides both read and write access to the user’s mailbox, enabling modifications or tagging of emails as needed.
* **Mail.ReadWrite.Shared**: Extends read and write permissions to shared mailboxes for better handling of phishing reports.
* **Mail.Send**: Enables the application to send emails, which may be necessary when forwarding reported phishing emails.
* **Mail.Send.Shared**: Allows the application to send emails from shared mailboxes when the user has the appropriate permissions.

**2. User Profile Permissions**

* **profile**: Allows the Microsoft Page View Phishing Reporter to retrieve basic user profile information, ensuring accurate reporting and tracking.

5. Once you accept the permissions, the **GRAPH Authorization Successful** window will display.

<figure><img src="https://3453589210-files.gitbook.io/~/files/v0/b/gitbook-x-prod.appspot.com/o/spaces%2F-LMcQ_WCXOrHv3r05ae5%2Fuploads%2FVeTDqAYJ4nY92fYmoB3J%2FScreenshot%202025-05-21%20at%2014.30.48.png?alt=media&#x26;token=dcdd67fe-846c-489b-b868-12edf7309509" alt="Graph Authorization Successful message on Phishing Reporter page."><figcaption><p>Picture 5: Graph Authorization Successfull message on Phishing Reporter page</p></figcaption></figure>

6. Click the **Download** button for the **Page** **View** button under the **Microsoft** **365** to download the **Microsoft365PhishingReporterAddin.xml** file.
7. Log in to [Microsoft 365 Admin Center](https://admin.microsoft.com/AdminPortal/Home#/homepage) and go to [Add-ins](https://admin.microsoft.com/AdminPortal/Home#/Settings/AddIns).
8. Select **Deploy Add-in** and click **Next**.
9. Under **Deploy a custom add-in**, click **Download** **custom** **apps**.
10. Select **I have the manifesto.xml file**.
11. Click **Upload**.

<figure><img src="https://files.gitbook.com/v0/b/gitbook-x-prod.appspot.com/o/spaces%2FlKFxOYqYqSykikkXpwjG%2Fuploads%2Fa7mDhuhEs201oU8fKZQT%2Fadd-in%20step%201.gif?alt=media&#x26;token=c263c2cd-424f-4a1a-9471-390720123089" alt="Add-in deployment — step 1 (authorize or download)."><figcaption><p>Add-in deployment — step 1 (authorize or download).</p></figcaption></figure>

12. **Assign the users** who will have access to the add-in. We recommend selecting **Everyone** so the add-in will be installed on every user under the Microsoft 365 tenant.
13. **Select Deployment Method.** We recommend selecting Fixed which is the default option.
14. Click **Deploy**.

You will receive an email notification confirming your successful deployment. **It may take up to 24 hours for the add-in to be displayed** on the users' email applications. Users may need to relaunch email applications.

​✅ **You have now deployed the Phishing Reporter.**

**Next step is to** [**Setup Incident Responder**](https://github.com/ucarozan/keepnet-docs/blob/main/next-generation-product/getting-started/7.-incident-responder-setup) **(only for customers who have purchased the Incident Responder or xHRM package)**

## Video Tutorial <a href="#video-tutorial" id="video-tutorial"></a>

{% embed url="<https://youtu.be/OQoj9eXnz_c>" %}


---

# Agent Instructions: Querying This Documentation

If you need additional information that is not directly available in this page, you can query the documentation dynamically by asking a question.

Perform an HTTP GET request on the current page URL with the `ask` query parameter:

```
GET https://doc.keepnetlabs.com/next-generation-product/getting-started/6.-setup-phishing-reporter/deploy-keepnets-customisable-phishing-report-button/step-2.-deploy-phishing-reporter/how-to-deploy-add-in-in-microsoft-365.md?ask=<question>
```

The question should be specific, self-contained, and written in natural language.
The response will contain a direct answer to the question and relevant excerpts and sources from the documentation.

Use this mechanism when the answer is not explicitly present in the current page, you need clarification or additional context, or you want to retrieve related documentation sections.
